Mac Os Install Brew For User
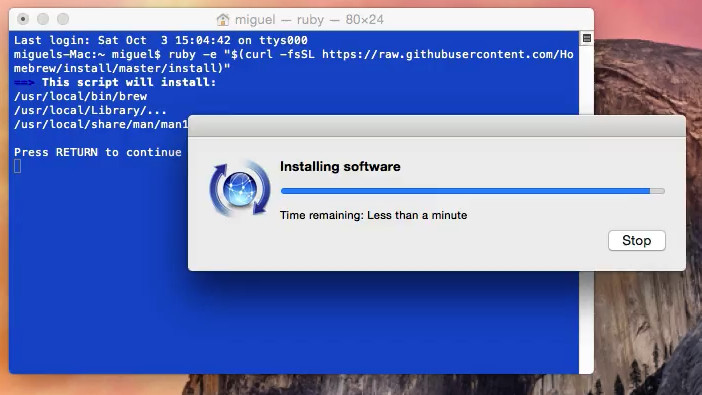
Homebrew is a free and open-source (FOSS) package management system that is available for OS X/macOS systems. Sound studio software for pc. Homebrew makes extensive use of GitHub to expand the support of several packages through user contributions. Thesoftware was written by Max Howell in 2009; as of July 2016 there was ateam of twelve developers maintaining the software.You can install it by opening a Terminal window and issuing the command /usr/bin/ruby -e '$(curl -fsSL https://raw.githubusercontent.com/Homebrew/install/master/install)'. I recommend putting the sudo commandat the beginning of the command, so you won't be prompted so many times to provide the password for your account during the installation, i.e., sudo /usr/bin/ruby -e '$(curl -fsSL https://raw.githubusercontent.com/Homebrew/install/master/install)'. If you don't, you will see theoutput and password prompts shown below, which shows the directoriesbeing created and the file permissions being set.
I thought I should mention the very easy Homebrew package installer for Mac OS X. I’ve found it quite simple to use and have not turned back since I blew away my MacPorts. You’re installed you should be able to run brew install to install packages. Hi, I’m new to MacOS (long time Unix and Linux user) and am running the latest. Read Also: Install OpenJDK 8 on Mac using brew (AdoptopenJDK) 1. First of all, we need to tap a brew repo. Execute the following command: $ brew tap AdoptOpenJDK/openjdk The above will add more repositories to brew. Read Also: How to uninstall/remove Java 10 from Mac. Install OpenJDK 12 Mac. After adding tap, let’s install OpenJDK using brew. $ brew cask install adoptopenjdk12. So, now we have installed Java 12, we can check the installation with the following command.
When the installation is completed, if you issue the commandbrew help, you will see the following information:
You can also obtain help on using the brew command to installsoftware by perusing the man pagewhich is installed as /user/local/Homebrew/manpages/brew.1;you can view the brew man page with man brew.
Installing Homebrew is simple. Run the following command which is listed on the Homebrew homepage (not as root):
This will install the macOS Command Line Tools from Xcode as well as create the following directories (if they’re not already present):
- /usr/local/Cellar
- /usr/local/Homebrew
- /usr/local/Frameworks
- /usr/local/opt
- /usr/local/sbin
- /usr/local/share/zsh
- /usr/local/share/zsh/site-functions
- /usr/local/var
brew install wgetThis one is nice because the dependencies that get installed. And you get the latest versions. Let’s look at the version for wget:
wget -VNext, let’s use brew to search for something: radius
brew search radiusYou’ll see that there’s one item on the local taps: freeradius-server
Let’s install that:
brew install freeradius-serverNow, you’ll find that the bits that make freeradius work are located in /usr/local/Cellar/freeradius-server/3.0.16. If you later need to upgrade that package, use the upgrade verb.brew upgrade freeradius-serverAnd finally, to update Homebrew to the latest version, run the update verb:
brew update