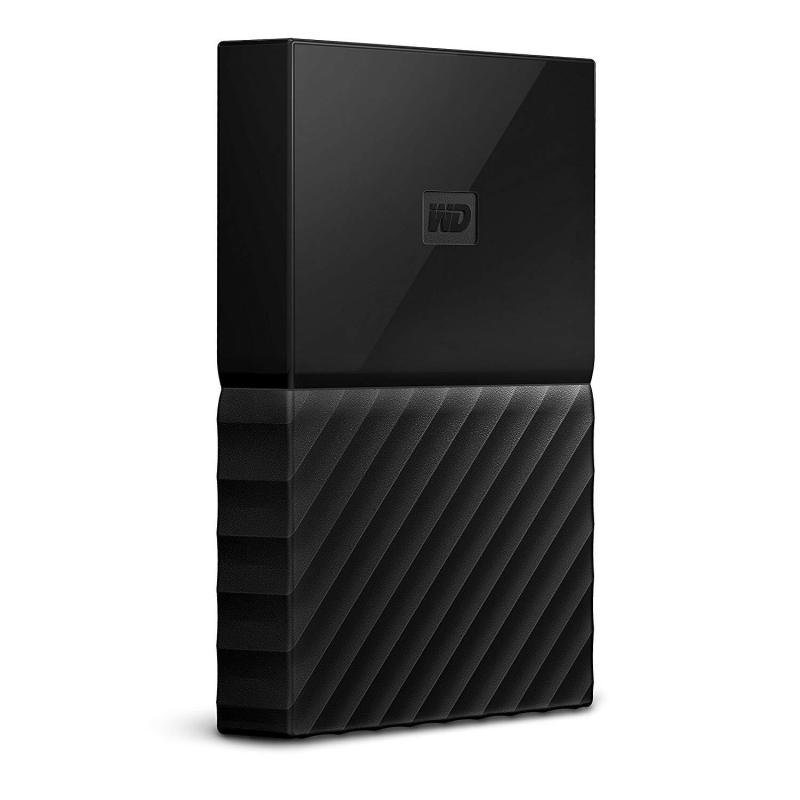
My Passport 2tb For Mac
You have a WD My Passport portable external drive and you want to make it work on both Mac and PC.
Aug 16, 2019 Hello all, Today I bought the 4tb “My Passport” from Best Buy. I came home to set it up and backup my computer (a 2015 MacBook Pro running El Capitan 10.11.6) Before I did anything to it, I read through the user’s guide and saw that I needed to format it to use with my MacBook. Featuring USB-C ™ technology, the My Passport Ultra for Mac portable drive delivers quick and easy storage for your Mac, while the included USB 3.1 adapter makes sure it’s compatible with older machines. Password Protection with 256-bit AES Hardware Encryption WD Security function within WD Discovery helps keep your files.
Whether it’s because you’ve a Windows PC you use at work. And when you’re home it’s easier for you to continue your work on your Mac.
Or
You need to work at home because then you can watch a sick child. Or be there when the kids come home from school.
Or it could be that you have both types of computers in your home. Your work and home life would run so much easier if you could just get the dang thing to work on both.
The question you’re asking yourself is: Can I use my WD Passport on both Mac and PC?
The answer is Yes.
And in this article I aim to inspire you to do just that.
Learn the few steps it takes to set up your WD My Passport for Mac and Windows.
High Level View of the Steps To Making WD Passport Compatible with Mac and Windows
- You plug in the WD My Passport Into Your Mac
- You format your WD My Passport to Mac OS Extended (Journaled) file system.
- Next you format your WD My Passport drive to an ExFAT file system.
- After that you can use your WD Passport on both Mac and PC.
And the whole thing takes only a few minutes to do.
____________
Plugging in Your WD My Passport Into Your Mac and PC
Before you start you’ll need to connect your drive.
You’ll either find this super easy and straight forward. Or you may need a cable or adaptor depending on the Mac and PC you have.
Your WD My Passport drive uses an external hard drive standard called USB 3.0. You don’t need to understand the ins and outs of this standard. It’s enough to know that the different USB standards define the speed the drive works at.
And the plugs used to connect the hard drive to your Mac or your Windows PC. The connection types are also known as ports.
Your WD My Passport portable drive has a USB B micro port.
Its cable comes with a connection for the USB B Micro port for the hard drive. And at the other end, the end that connects to a computer has a USB A connection.
That end looks like this.
What If you Bought a WD My Passport for Mac?
The cable supplied with the WD My Passport for Mac is different. It still has the Micro B connection for the WD My Passport for Mac drive. But on the other end it has a USB C port.
Check the USB port you have on your Mac and on your Windows PC
You may have a USB A port. Or on the newer Macs and Windows PCs you may have a USB C port. And find you’ll need an adaptor cable or device.
The USB standard is thankfully backwards compatible. So as long as you have the right cable or adaptor you’ll be fine.
My favorite cable and adaptor are: (Commissions Earned)
1. USB C to Micro B Cable, QCEs
What’s The Best Note Taking App For Mac? The first reliable note-taking application for Mac is Apple Notes. Since Apple Notes is a part of Apple’s productivity suite it. Best Note Apps for Mac #1. Microsoft OneNote. Best Note Taking Apps for Mac 1. The stock Notes app that comes with Mac OS itself, is actually not that bad. Chances are you have heard of Evernote, as it is one of the most popular note taking. Unclutter is a neat tool which can increase your. Notetaking app for mac.
2. Apple USB-C to USB Adapter
Click on the above links to view on Amazon.
Got the right cable for your Mac and your Windows PC. And you may find you’ll need two different cables. But that’s fine as long as you have the cable you need in the right place at the right time.
How to Make WD Passport Compatible with Mac and Windows
The method you’ll learn uses your Mac to format your WD passport for Mac and Windows.
I recommend doing it this way, as Macs can be choosy about what formats their hard drives.
And throw up issues when you format the external hard drive on a Windows PC and then you use on your Mac.
Setting up your WD My Passport drive on your Mac moves any of these issues out of the picture.
Side Note:
If you have documents, and files already on your WD My Passport drive copy them off before you start doing this.
If you can’t copy them off. Or you have no room either on the Mac or your Windows PC to put them there.
Then you’ll want to take a look at my article here. It covers the options available when you want an external hard drive working on a Mac and PC but you can’t reformat. Because you don’t want to loose the documents on there.
1. Turn on Your Mac and Log In.
Plug in your WD My Passport’s USB cable into its Micro USB B port. Then plug the other end into a USB port on your Mac.
The WD My Passport gets its power from the Mac and the drive’s LED light will start flashing as it powers up.
2. Look for the External Hard Drive Icon on your Desktop.
Or your Mac may give you a message asking whether you would like to format the WD My Passport drive.
If your Mac has asked that question select Yes.
If it hasn’t you’ll see an icon on your desktop like this.
Your WD MyPassport drive not showing up on the desktop?
Open afinder window. And click on Preferences.
Check theboxes ‘Hard Disks’ and ‘External Disks’
Now you open up a piece of software on your Mac called Disk Utility.
You’ll use Disk Utility to format your WD My Passport drive.
You find Disk Utility in the Applications folder on your Mac.
Inside the Application folder you’ll see the Utilities folder. Double click on that.
Then double click on Disk Utility.
Your other way is to search for Disk Utility via the spotlight search.
You can find Spotlight search at the top of your desktop.
Click on spotlight search and type in ‘Disk Utility’.
Double click on Disk Utility to open it up.
3. Make Sure your WD My Passport External Drive is Chosen.
You click where I’ve circled on the above picture. You click at the ‘top level’ – where you see the WD My Passport drive first listed.
A small arrow head to the left of your My Passport external drive shows the levels.
If thedrive levels are still not showing, click on view on the top left of your DiskUtility pop up window.
Then openup the view menu and click the box to show all devices. The drive and the volume.Then you’ll be find to select your drive at thetop level.
Now take a look at the top of the Disk Utility screen and click on the Erase option.
4. Give Your WD My Passport External Drive a Name.
On the next screen of Disk Utility you will be able to enter a new name for your WD My Passport drive. Why not choose a name that reflects is use on both Mac and Windows PC?
For the drive format select Mac OS Extended (Journaled).
And the Scheme is GUID Partition Map.
Click on Erase.
In a few moments the WD Passport drive is formatted.
You will format the WD My Passport drive twice. Once as Mac OS Extended (Journaled) file system. The second time as ExFAT. This will make the WD My Passport hard drive compatible with Mac and Windows PC.
5. Choose the WD My Passport Drive A Second Time.
Double click on Erase.
6. Then Select the ExFAT Format.
You have just formatted the WD Passport drive as a Mac OS Extended (Journaled) file system. This time select ExFAT from the format drop down menu.
Leave the partition map as GUID as before.
Then Select the Erase button at the bottom right of the window.
Several short moments later you’re done.
The WD My Passport drive is now formatted to work on both Mac and PC. And when you plug your My Passport drive into either you will be able to see the drive, read and write files. Copy and Paste files and create folders on both Mac and PC.
7. Ejecting your WD My Passport Drive
Never just pull out your USB cable either from your Mac or your Windows PC. You need to eject the drive first.
By ejecting the drive your computer can write anything it is still holding in its memory to the hard drive. And you’ll keep the risk of corrupting your files to the smallest possible.
To Properly Eject the WD My Passport Drive.
1. On your Mac. Put your cursor over the WD My Passport Icon on the desktop.
Right click. Next click on the Eject option.
2. Wait until you can’t see the Icon on the desktop.
3. Then check the LED lights on your WD My Passport drive. When they stop flickering and you have a steady constant light you know the drive is idle.
Then you’re free to unplug the USB cable.
An Alternative Way to Eject on your Mac or for Your PC
Go to the Finder Window on your Mac or the Explorer window on Windows PC. Right click on the file icon of your WD My Passport drive there.
Choose Eject.
Wait till the icon disappears and the flickering on the drive stops. Then you can pull out the USB cable.
Frequently Asked Questions
1. Why Didn’t My WD Passport Work on My Mac and PC?
WD My Passport is sold with a file system called NTFS (New Technology File System).
A file system is how the My Passport external drive stores your all your files. Whether they are documents, photos or music on the drive.
Your Mac can read NTFS. So when you plug in the drive your Mac can see the documents. And you can copy them off onto your Mac.
But you can’t write any files back, update any of the documents or delete them. This is because all those actions mean the Mac has to write to the drive and it can’t.
To write to the drive you either need third party software that allows you to do that.
There is an article on the site all about this here.
Or you reformat the drive as I have led you through in the article.
2. Why Can’t ‘WD Passport For Mac’ work on Windows?
The version of the Western Digital external drive sold in a ‘For Mac’ guise does not work on Windows. Not without some third party software or without reformatting. Why?
Because the file system on the WD Passport For Mac external hard drive is a Mac OS Extended (Journaled) file system. This file system is also call HFS+. A Windows PC cannot see, read, write to that file system.
To share that drive between a Mac and Windows PC you need software. Software that translates HFS+ into something the PC can understand.
You can take a look at the software options in my article.
Or follow the steps in this article to reformat the drive to ExFAT.
3. How to Open WD My Passport for Mac on Windows?
Because WD My Passport for Mac has a Mac OS Extended (Journaled) file system (HFS+) written on it. Your Windows PC can’t see, or open the drive.
Your options are to use a third party software solution that sits on your windows PC. This software would allow your PC to see, read and write to the drive.
You can read all about it in this document on the site.
Or you can reformat the drive to ExFAT and freely open the WD Passport without any special software on it.
4. Why ExFAT when Formatting WD Passport for Mac and Windows?
Because both your Mac and Windows PC can read and write to ExFAT.
What does this mean?
Copy your documents onto an ExFAT formatted WD My Passport drive. And plug into either computer.
Whether it’s your Mac and or your PC it will see those documents.
And use those documents on both computers. If it’s your music collection you want to enjoy and listen to on both your Mac and PC, then you can with ExFAT.
Both a Mac and a Windows PC can also read and write to FAT32 formatted drives.
Why didn’t I suggest that?
And you may see some sites suggesting you format to FAT32.
But FAT32 has a file size restriction of 4GB. OK, so you’ll likely have file sizes smaller than that.
But as the older file system standard FAT32 is slow.
Much slower than ExFAT. And ExFAT can store a file up to 16 Exibyte in size.
These days ExFAT is the file system to choose for your modern Mac and Windows PC.
Last Words

I hope I inspired you to take the 7 steps to set up your WD My Passport for your Mac and for your Windows PC. You’ll find it so much easier when you can work on your documents from either computer. See the photos you’ve stored on both or hear your favorite tunes on your Mac or PC.
Don’t just read – go ahead and give it a go. It is easy use your WD My Passport for Mac and Windows in 7 steps.
You’ll find other documents on the site all about your WD My Passport portable external hard drive. Why not take a look: